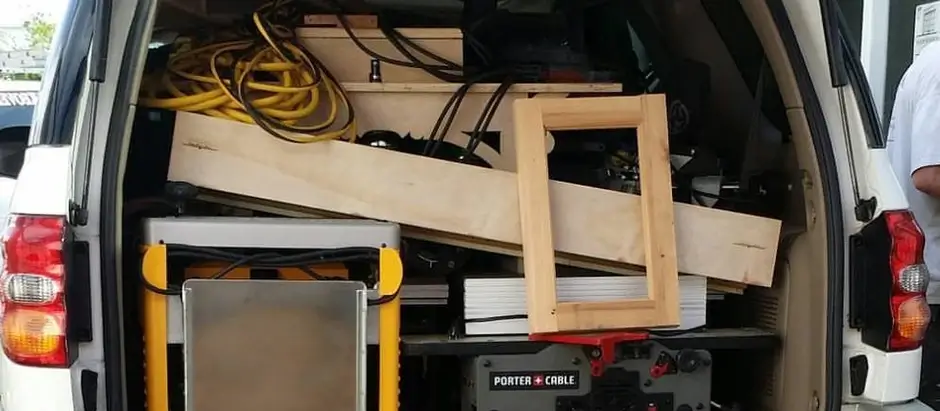
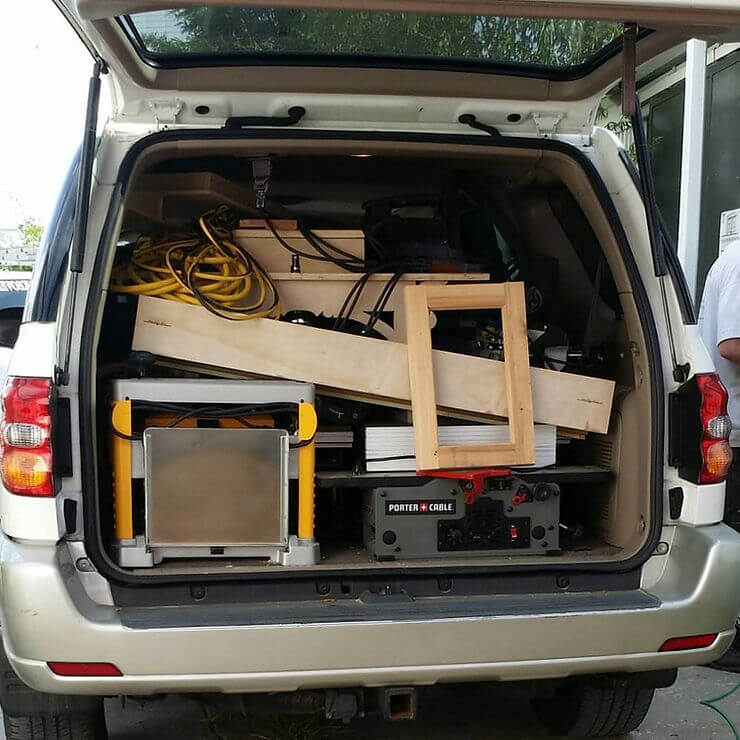
What tools will I need to make a sash? As few as possible. The idea is to be as productive as possible in as little space and as little time as possible. A long time ago someone challenged me to fit my window making set up into a 10′ x 10′ square, and I did exactly that. That was the year I fit the the entire set up into the back of my SUV and drove up to St. Clairesville, Ohio for the annual Preservation Trades Network workshop to show it off and teach people how to make sash.
Right away I want you to think in terms of dedicated set ups. A dedicated setup is a set of tools dedicated to one activity. Wise carpenters have dedicated chisels that they only bust out for a particular job. Let your window making set ups be dedicated in the same way.
Set up a saw for tenoning and dedicate it. Leave it that way. Instead of breaking it down and setting it up for another task, get another table saw for the next task and dedicate it too.
These are the sash making dedicated set ups. They are:
The Blank Making Set Up.
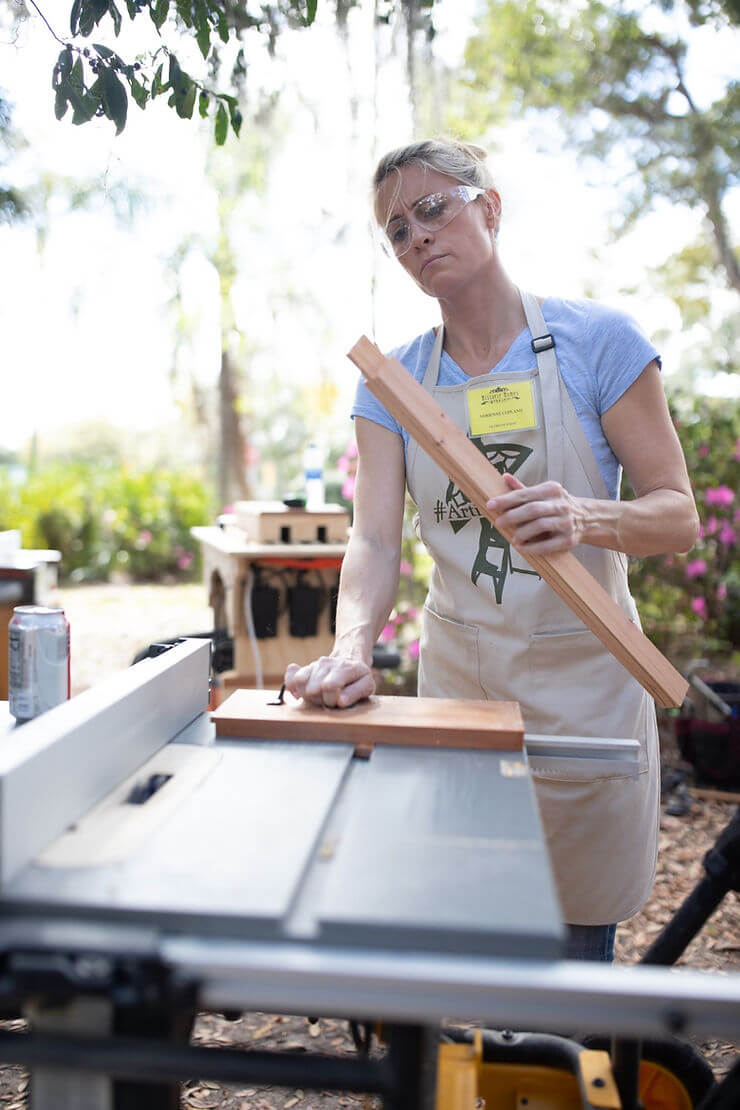
The blank making set up is a circular saw, a jointer, a planer, a table saw and a miter saw. This set up is dedicated to milling what I call blanks. Blanks are the properly sized window components that are exactly the right thickness, width and length, before any joinery is applied to them. The joinery set ups are described below.
The Tenoning Set Up.
This combination of two dedicated table saws outfitted with dado blades at precise settings to make tenons is the first joinery set up. Tenons are the tongue part of mortise and tenon joinery. Dado blades are a group of saw blades grouped together to make a wide cut and fast tenons.
The Mortising Set Up.
The mortising set up is a second joinery set up dedicated to making precise elongated holes that the tenons fit into.
My first mortising set up (that is now set aside for when I travel) was a combination of a specially made jig that I call a trough, and a plunge router outfitted with a 1/4” carbide up cut spiral bit. The trough is basically a long plywood box that is sized to hold a window part in a specific place. The plunge router slides in a track over the box on a controlled path to make the elongated holes. The video to the right shows my first trough powered by a plunge router. The magazine article that gave me the inspiration for this can be found here.
The mortising set up that I now use is a mortising machine equipped with a special bit that combines both chisel and drill bit – the hollow chisel mortiser.
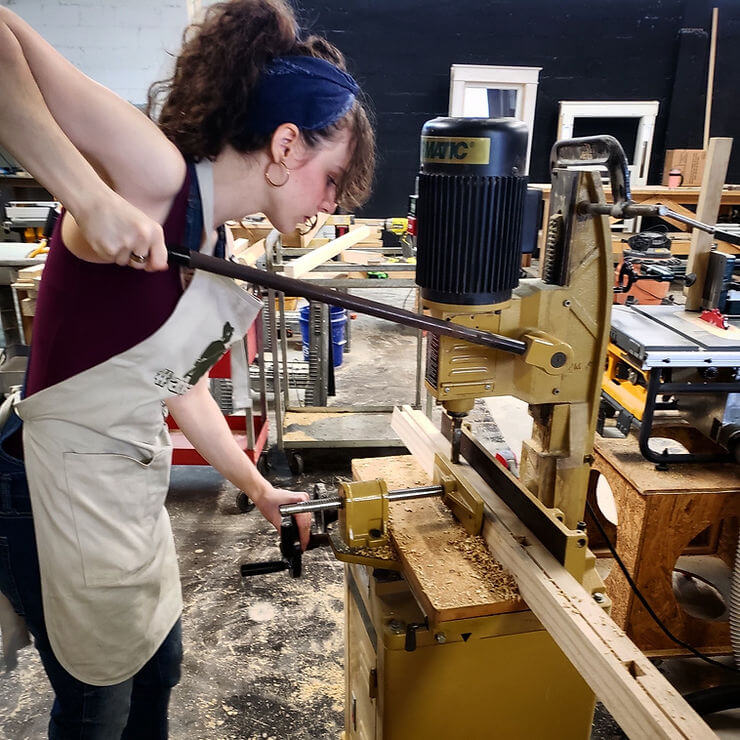
Both mortising set ups are powerful and have their advantages and disadvantages. The plunge router method is surprisingly fast, but the end of the holes are round and you have to round the end of the tenons to compensate. The hollow chisel mortiser method is more accurate, but is a lot slower. But it’s not too slow to use. It’s also a low hanging fruit kind of tool to teach a helper.
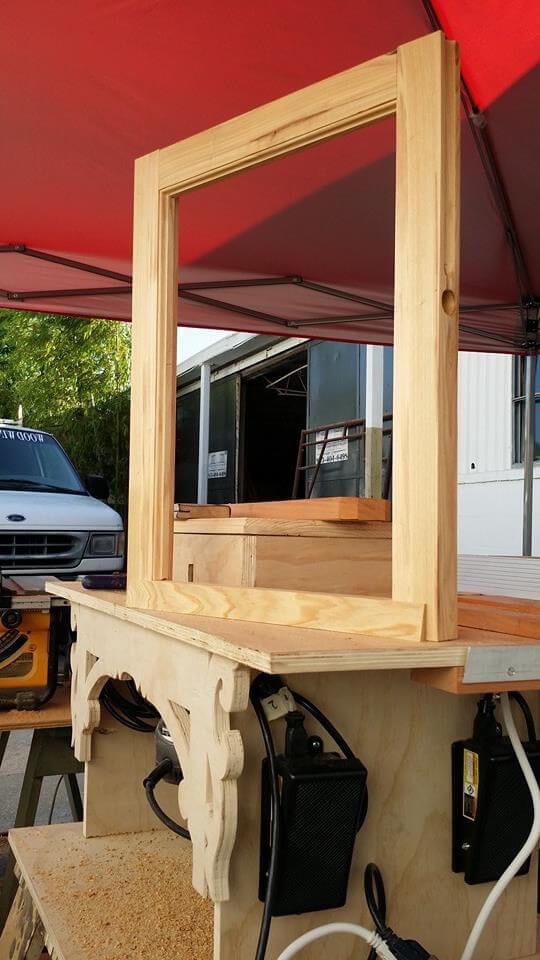
The Profiling Set Up.
The profiling setup is a set of router bits place in a special router table at precise settings for the making of the delicate moulded profiles and rabbets unique to window sash. This by far is the most complicated assembly of machinery that would be best expanded upon in another post.
I call the particular way I assemble these routers, The Sash Factory, and is the backbone of all the sash making we do at the museum. It is a very powerful tool that I invented, and I suspect you will appreciate very much. It is perhaps the one tool that can change a wood window artisan‘s business.
Minor Set Ups.
There are other minor setups that go along with the ones mentioned above – dust collection, pulley trough makers, drill presses and so forth, and we’ll talk about those soon enough. But for now, this is a good start.