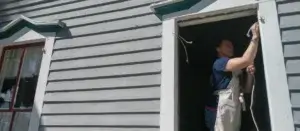
The methods for bringing turn of the century window hardware back to life aren’t immediately obvious. There are many styles of hardware, and many techniques to employ. Not every technique works for every piece of hardware. Some techniques are somewhat universal. Exposure to the different types of hardware and learning various techniques takes time.
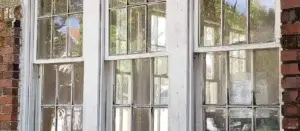
Most turn of the century window hardware is a higher quality than what is readily available now. For most people therefore, when bringing turn of the century windows back to life, replacing the hardware isn’t a good option, as what’s easily obtainable is merely a mimicry of what it could be. Good replacement hardware does exist but it’s not immediately obvious how to get it. The online sources are so varied and unpredictable. Buyer beware. The hardware often looks the part, but doesn’t adequately do the same job it’s predecessors did, being almost entirely decorative rather than functional. Therefore keeping the original is often the best and most practical path.
The original hardware though, is most often covered over with multiple layers of paint. The question people struggle with is how to remove the old paint while simultaneously uncovering and retaining as much of the original finish as possible. There’s something beautiful underneath all the old paint, and the goal is to find and accentuate it.
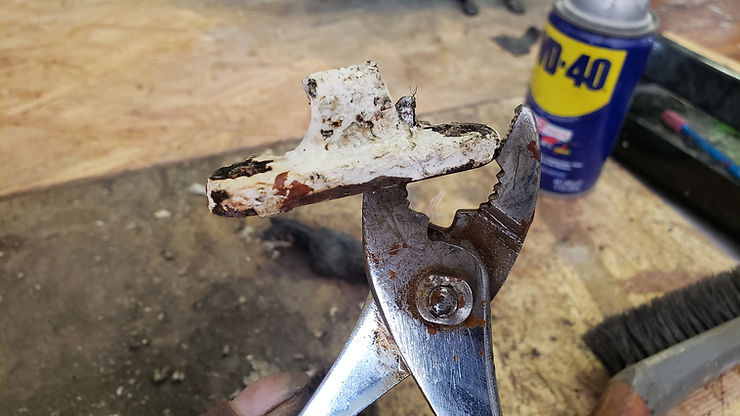
There are tools that will effectively remove old paint quickly, but they compromise any remaining original finish. One tool is a wire wheel attached to a bench grinder. The wire wheel works very well in some applications, but worker beware – this method takes every bit of old paint, every bit of original finish and leaves nothing but a grey bare metal. Oftentimes this is acceptable, but it takes experience and judgment to discern when to use this method, and when to abstain. Perhaps the best way to learn what is not acceptable, is to ruin a piece or two by removing the beauty that could have been retained, and then suffer the consequences of an unhappy client.
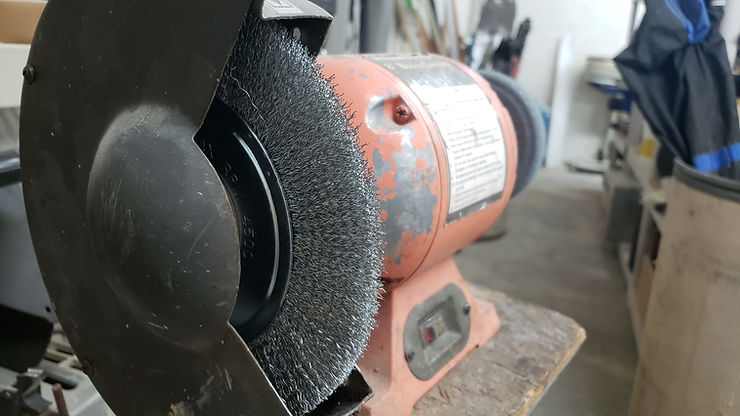
I mention this because the wire wheel was my go to method early on. I got away with doing it this way often because I didn’t yet know a better way and many of my clients didn’t know any better either. But once I learned a better way, my conscience bothered me if I didn’t proceed forth in a manner I knew was superior and gave better results.
So there is an art to it. The art isn’t learned in a single work session either. It takes many hours of trial and error to find the best path to the desired result. Right now the method I gravitate toward and teach my students is the crock pot method. You need:
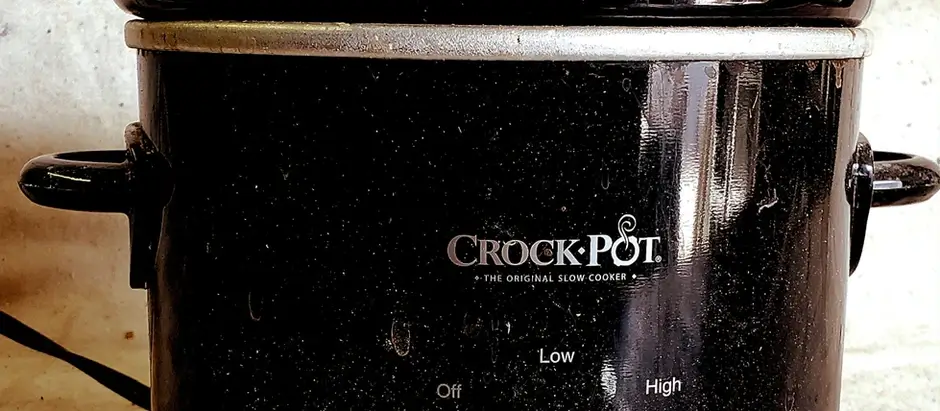
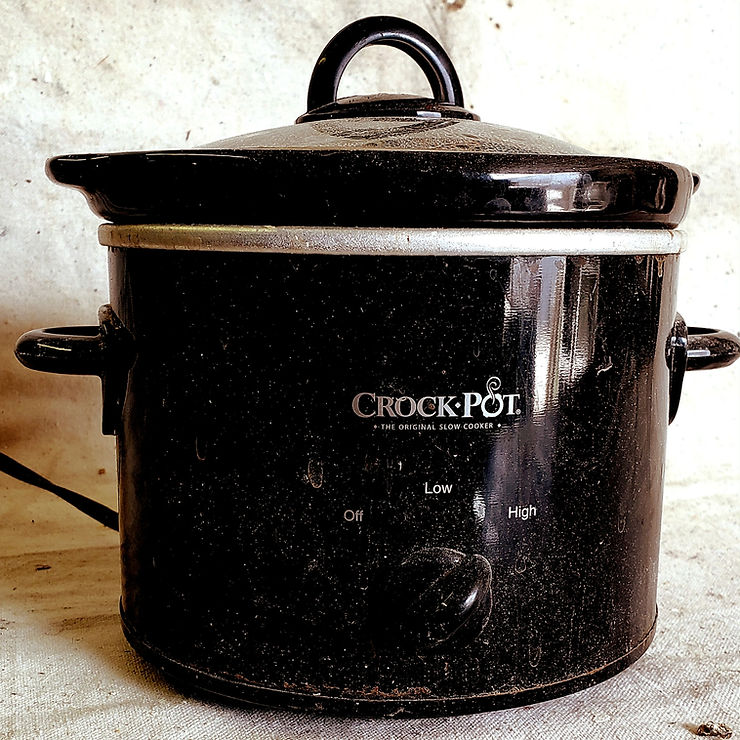
- A dedicated crock pot, one that won’t be used to cook food, because once it’s cooked, it’s always a hardware crock pot.
- Water and detergent. I have been using Dawn dish detergent. A big squeeze like I am doing the dishes.
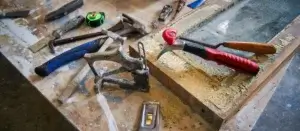
- Hammer and a screwdriver. These are the tools for removing the screws to get the hardware off in the first place. Want to see this process? Click here
- Gloves. I don’t typically wear them, but the hardware does come out hot and hard to hold bare handed. But then the gloves get wet and nasty and then get in the way…. But some people have to do it.
- Retrieval tools. These are to pull hot hardware out of a hot crock pot. A pair of pliers work, kitchen tongs, a big serving spoon perhaps.
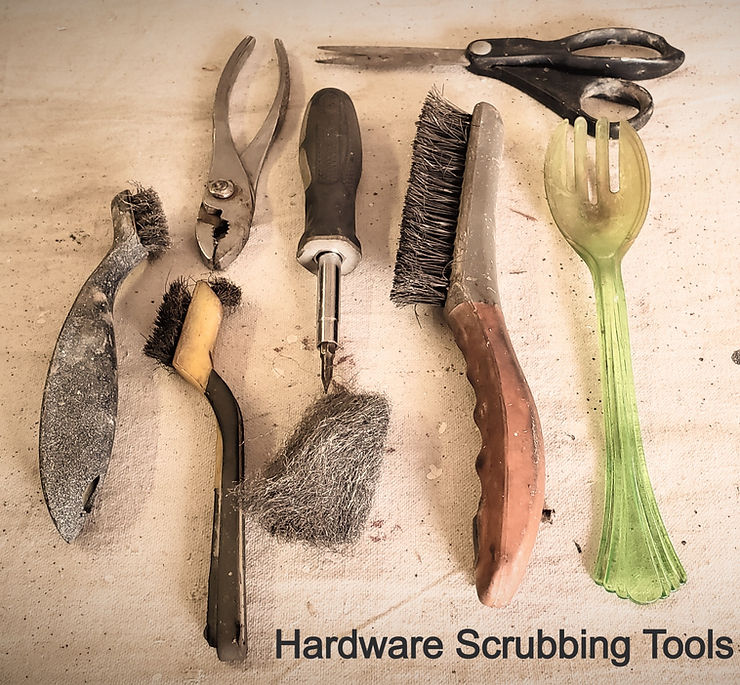
- Various wire brushes. Some large and stiff, some small and pliable, some disposable, and some longer lasting.
- Some sort of gentle scraping tool. I use an old screwdriver with a small head on it, the end of an old hacksaw blade. A old butter knife will work. The tool itself doesn’t have to be gentle. The tool operator though, does.
- Steel wool in various levels of coarseness. A pair of scissors that will cut the steel wool into more practical working sizes is useful.
- A plywood deck. Scrubbing the finish from old hardware is messy. There’s no sense in blemishing the work table unnecessarily. Put a piece of scrap plywood between the work and the table. Let that piece of plywood be dedicated to that particular messmaking activity.
- Rags. These are for drying, wiping, cleaning, etc… during the process.
- WD-40. The WD in WD-40 stands for Water Displacement. The 40 is for the chemists finally getting the proper formulation on the 40th attempt. WD-40 is for spraying the moving parts and forcing water out of nooks and crannies that would otherwise remain and cause rust. It also lubricates the moving parts.
- Clear lacquer. When the piece emerges from the process in all its glory, lacquer seals it in and keeps the piece from rusting.
- Stool. Having a place to sit is better than standing to do this work.
- Headphones. Music and podcasts are the restorer’s friends.
So fill up the crock pot with the water and detergent and, removing the hardware from the window, drop it in and let it soak. I like to leave it in overnight and come back to it in the morning. It’s especially nice to open up the shop, take the lid off and see what looks like a rich brown primordial soup, bubbling up softly in a gentle boil. I get a little excited because I know it’s about ready.
I take a pair of pliers and try to dip out a piece. If I can’t grab it with the pliers, I have a spoon handy. But I want pliers nearby so I don’t have to grab the hot piece with my bare hands. The pliers hold the piece and let me do the work while the piece cools off.
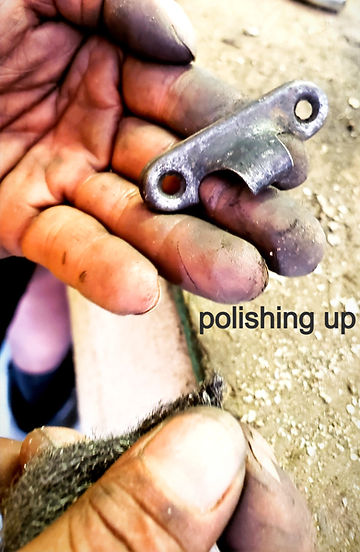
While I am holding the piece with the pliers, I begin an initial scrub with a stiff, handheld wire brush. The pliers also let me be a little more aggressive with the brush than I would be if I were to hold the piece bare handed. I scrub off what will come off and by then, the piece will be cool enough to hold with my bare hands.
I might at this point, grab a piece of steel wool to rub off what paint wouldn’t come off with the wire brush. Inevitably there’s something stuck in the corners that won’t come off with the wire brush or the steel wool, so I’ll grab a stiff scraping tool, like a small screwdriver and gently work to push the rest of the paint away out of the otherwise hard to reach places. Then I’ll hit it with the steel wool again, maybe wipe it off with a rag, look for any residue leftover and then rub on it until everything comes clean.
On a lock, sometimes there’s some paint stuck between the base and the locking mechanism that turns. I’ll often address this with a little wire brush about the size of a toothbrush and scrub that remaining residue out. It is a little like brushing teeth.
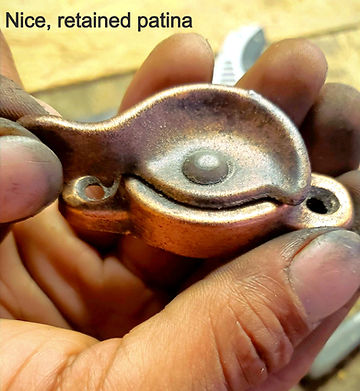
A note on the steel wire brush and the steel wool. Keep a close eye on what is happening with the hardware. The steel wire brush might be brushing off more than is desirable. Many times there’s something like a nice, but thin copper coating over the hardware and it can be scrubbed away with too much aggression. Ask me how I know. Same with the steel wool. There are various degrees of coarseness and picking the gentlest degree that will still remove the old paint is key. Decisions based on observations affect the overall finished polish of the final product.
The first piece is never as good as the last. How could it be? The first piece is like walking into a dark room looking for the light switch. Proceeding with caution is wise. Tripping over something in the dark risks careless injury and ruining the piece. Finding the light switch might take a few minutes, but once the light is on, the light is on and one is able to proceed at a normal pace. Pick up various techniques as you go. Gently try out new ideas. Keep the ones that work, discard anything that’s not really innovative.
Once the piece looks and operates as it should, free from anything that’s not supposed to be there, give it a few light coats of a clear lacquer spray. This will lock in any patina uncovered and that should be accentuated. I like to do several light coats, letting them dry in between rather than putting on one thick heavy coat. Seems to work better for me that way.
There are probably other ways of removing the accumulated old window paint from the window hardware that I am not even aware of. One guy I talked to the other day suggested using automotive antifreeze in place of water in the crock pot. Haven’t tried that yet, but probably will at some point. Others might suggest using chemical stripper. I’ve tried that and really don’t like it. It burns, gets everywhere and is more costly than the other methods. But don’t think I won’t use it in a pinch. There’s a time and place for most things.
This method will definitely a way to get started putting classic and high quality window hardware back into proper service. It’s happier there. This is highly practical because what’s available to replace it just isn’t practical in many cases. Good luck, and if you’d be so kind, share some of hardware you’ve restored using this method. Other people might appreciate it.
Watch the video below to see me demonstrate and explain the process while I am doing it. There’s a lot more details about it in the video.