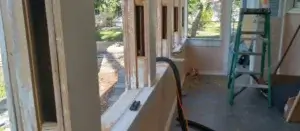
An order for twenty eight window sash, fourteen 8 lites and fourteen 2 lites, is an excellent opportunity to let our readers in on as much of the process as we can communicate.

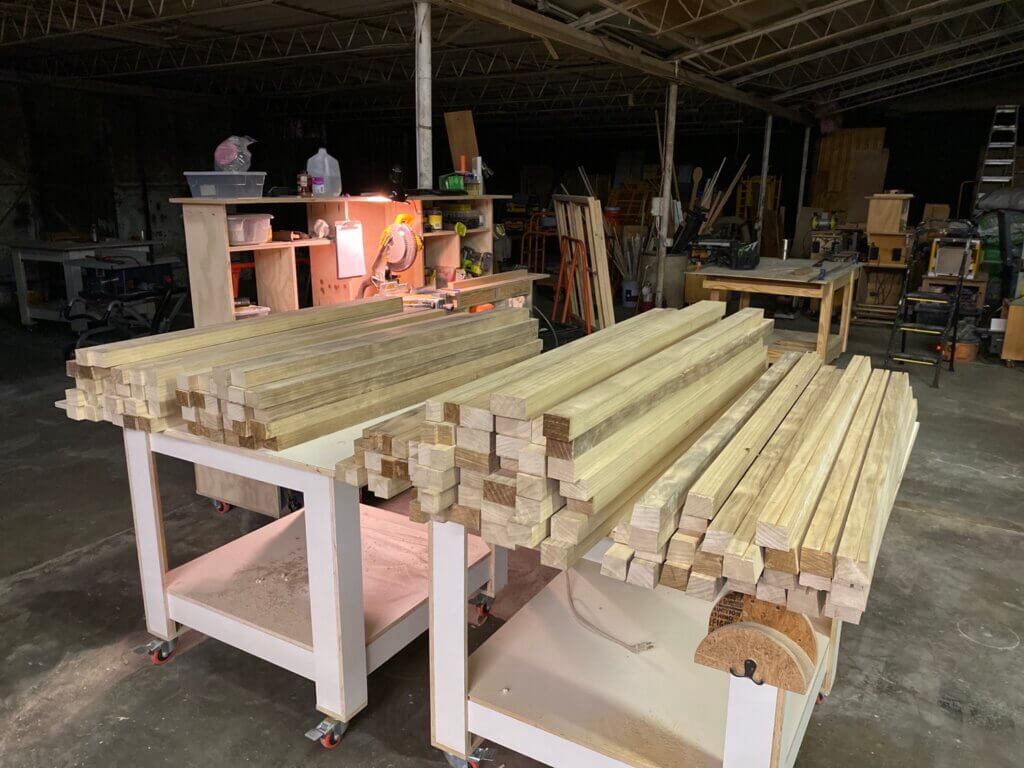
Yesterday I milled up most of what I call blanks. Blanks are the properly sized pieces of wood, out of which the sash will be assembled. The blanks have to be the proper thickness, width and length before they can be taken to the next stage – joinery. Joinery is the art of connecting the blanks through various techniques like the mortise & tenon or cope and stick.
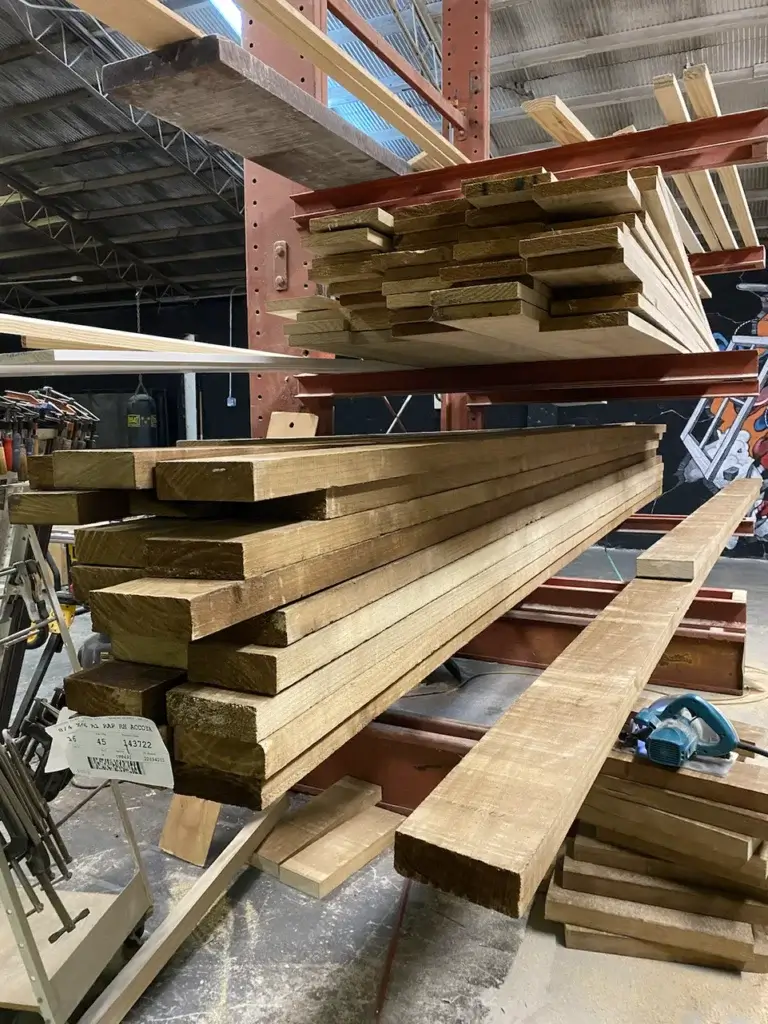
Making window parts requires a stack of rough lumber sufficient to make the parts. Rough lumber is not like the lumber people get at the home store. That stuff has already been planed down and smoothed out. Rough lumber is just that. Rough. It isn’t called 2×4 or 2×6 or anything like that. It’s called out by identifiers like 8/4, 6/4, and 4/4. That’s two inches thick, an inch and half, and one inch respectively.
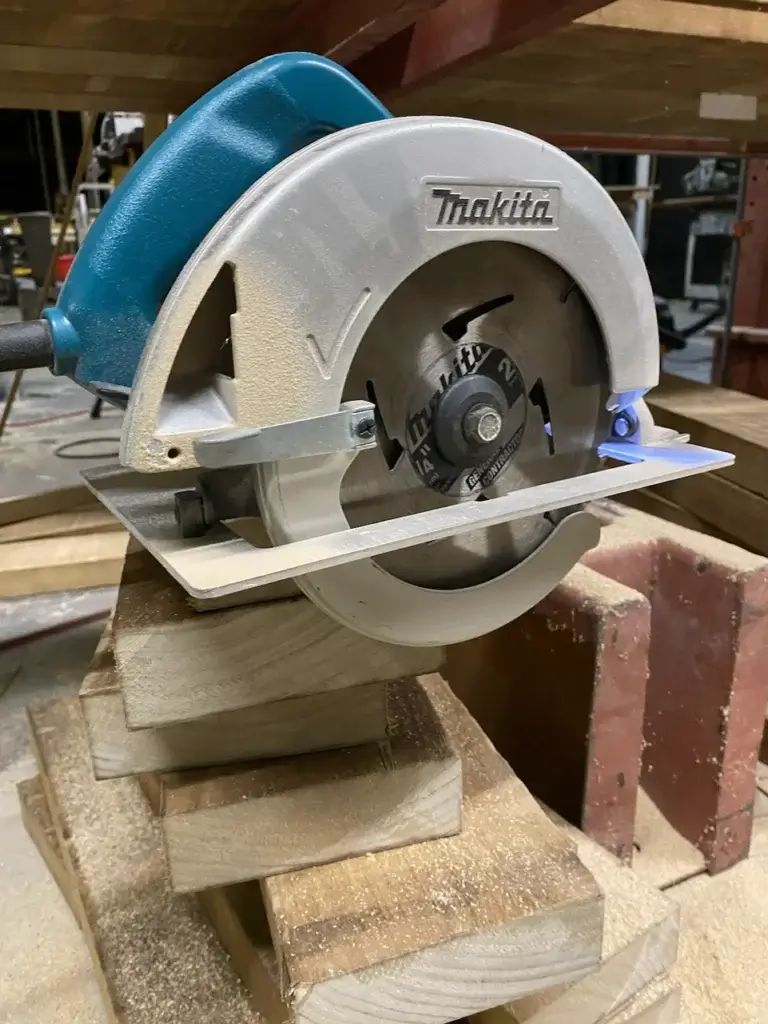
My favorite tool to cut rough lumber to rough length is the circular saw. I typically cut my rough lengths about four inches longer than my finished length. The finished length is the actual length I’ll need to make a particular window part.
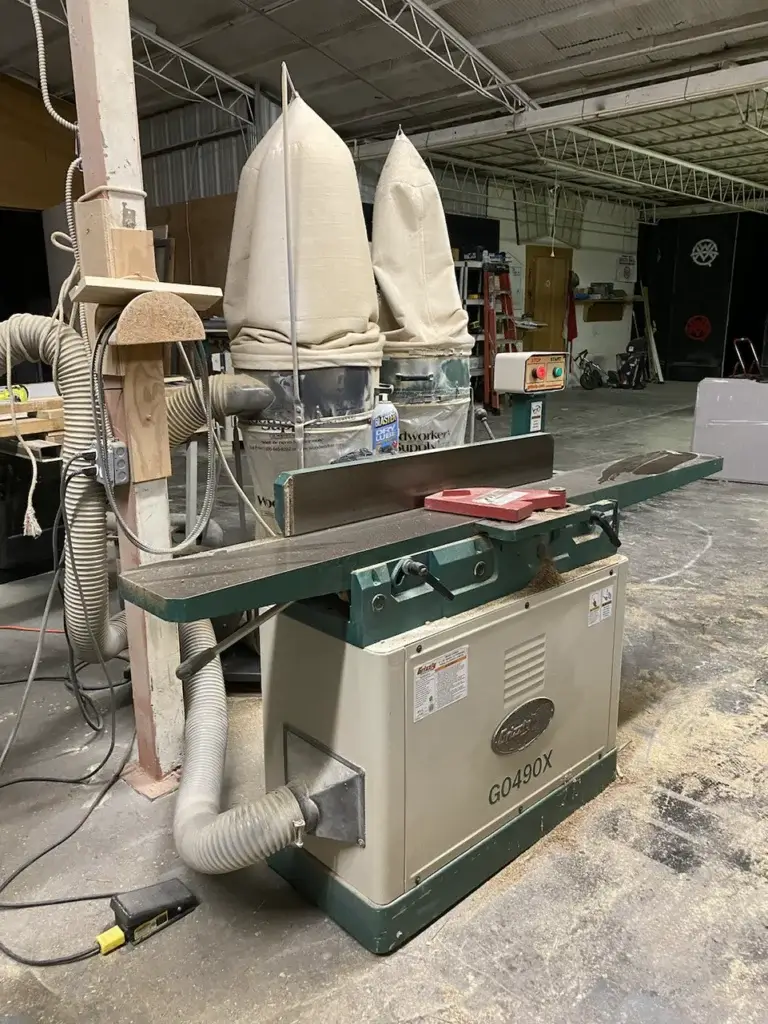
Once the rough lumber is cut down to size in what could be called rough blanks, I take them to the jointer and one by one, flatten the wide face and two edges. This gives me a starting place to measure from. I call this indexing, as jointing creates the reference point.
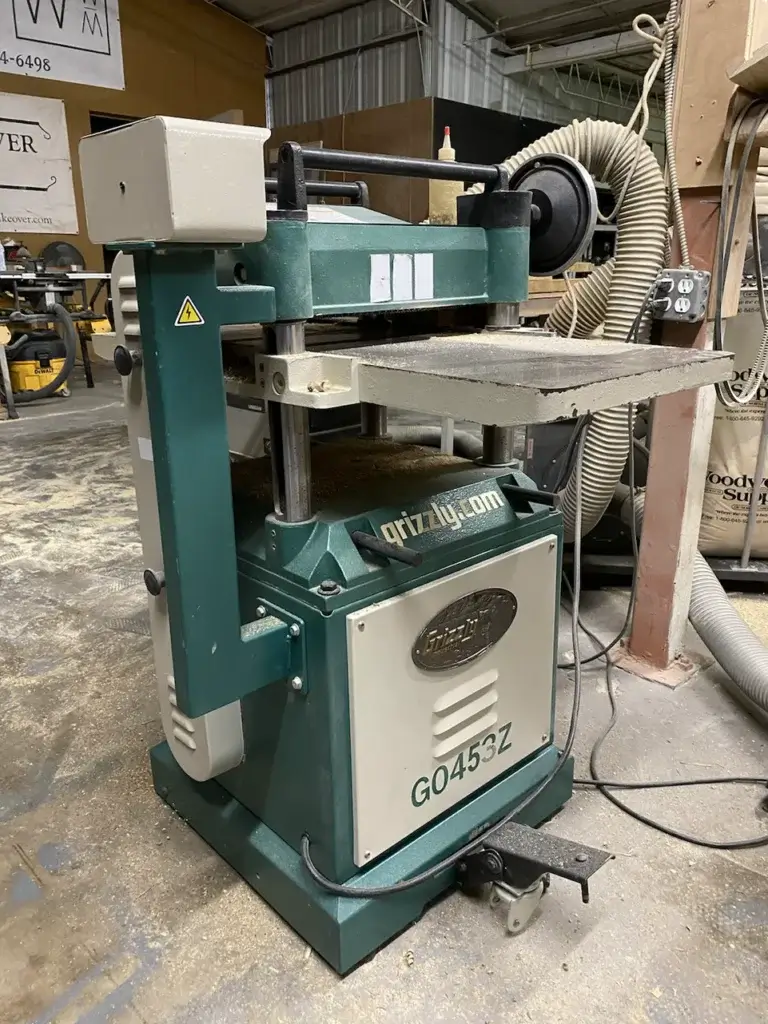
After the jointer, I send the wood through the planer. The planer makes the last wide face parallel with the jointed face and brings all the wood to a uniform thickness.
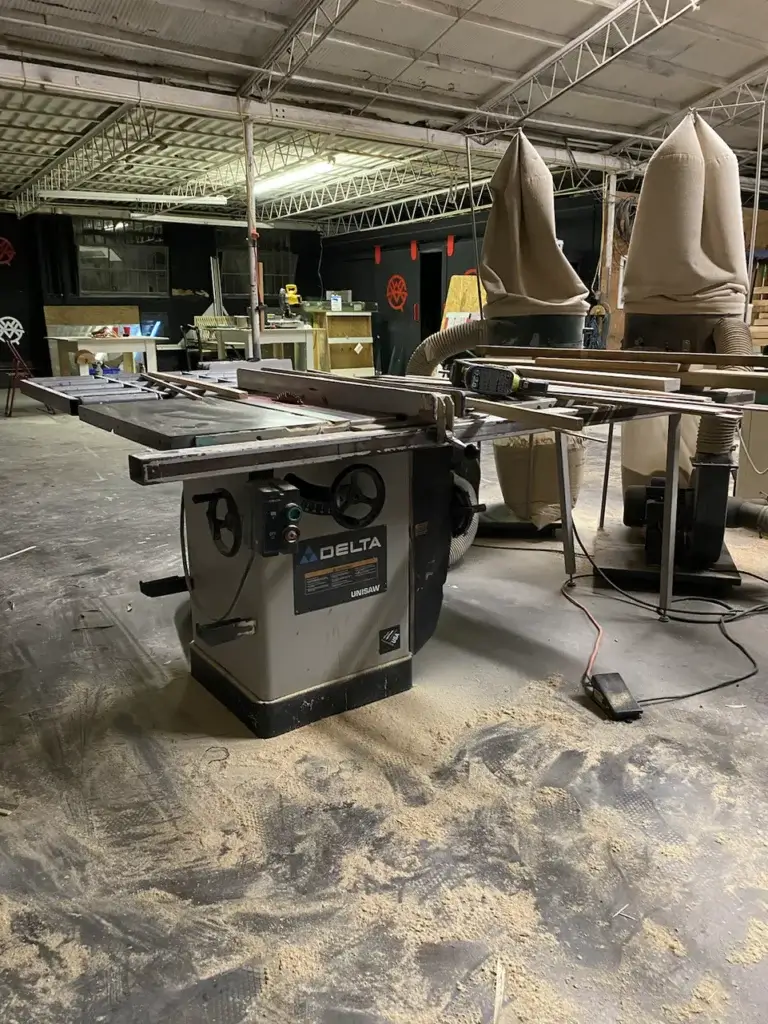
The last tool in this milling sequence is the table saw. The most versatile tool in the shop, the table saw rips the wood to the various proper widths necessary to make the sash.

Yesterday I milled up enough parts to make twenty eight sash, well over a hundred pieces. Today I finished dialing in my setups and made my first prototype set of sashes. Two down, twenty six to go.
Once the blanks are made, accurate layout is everything. Before I make the rest of the batch, I’m going to take what I’ve done to the job site and verify that what I made is going to work. It’s cheap insurance.
Make sure to watch the video below. It’s the entire four hour process boiled down to about a minute and a half.
Thanks for reading. I hope this is helpful. Make sure to comment and ask questions both about that I’ve written and stuff I haven’t covered. I’d love to know what you are thinking.